
The idea of this project is really very simple, you create lovely soft foam buffers which can be inserted into any handbag, thus turning it into a camera bag! Perfect! The biggest advantage is it will only take you around an hour to make and requires no sewing skills whatsoever!
What you will need:

- A bag big enough to hold your camera with a bit of breathing room around for padding
- A multi pack of washing up sponges
- Textile glue
- Super glue (not pictured here)
- Nice soft fabric. This is a scrap of brushed cotton left over from making pyjamas

For this bag I am going to make a block for the bottom, and a separate sleeve which will encase the camera. Pop some sponges in the bottom of your bag (scouring pads to the outside for added strength). Trim them down if necessary.

This is the bag with the sponges in. You can see the slightly awkward wedge shape, but the sponges fit will inside without being trimmed.

Now this is where I made a bit of an error. I used the textile glue, but it wasn't strong enough to create a strong, instant bond as the sponge was too absorbent. I would recommend using a super glue instead, the sort you get in small tubes and usually says "bonds in seconds!' on the packet.

Once you have glued the sponges in pairs, glue them end to end too.

This is after I realise my mistake and started using the super glue instead.

Your finished, glued block should look like this.

Place the glued block in the bottom of your bag. Pop you camera in, and space the remaining sponges around it. My bag looked too bulky with full sponges surrounding it, so I had to cut them in half.

It's easiest to do this with a bread knife. Use long strokes away from you and it's really simple to cut through.

You will end up with them looking a bit like this.

Now you have to cover them with fabric. Make sure you cut a piece large enough that you get a little bit of an overlap.

Using the super glue again, stick the fabric onto both ends of the block first.

This is probably the fiddliest part. Fold the fabric in so you can neatly wrap the fabric around the block without the need to seal the ends up again. I hope that makes sense.

You will need to fold the fabric at 45 degree angles so the folded edge of the fabric is flush with the ends of the sponge block.

Do the same at the other end, and glue.

Wrap the long bit of fabric around, and glue.

You should have a block that looks a bit like this.

Now for the sleeve cushion. You will want to have a longer tab of fabric at one end (the left side in this case). Glue any pairs together as before. Leaving gaps of 2-3cm between each cushion pad (to allow for the corners) glue each pad individually to the fabric.
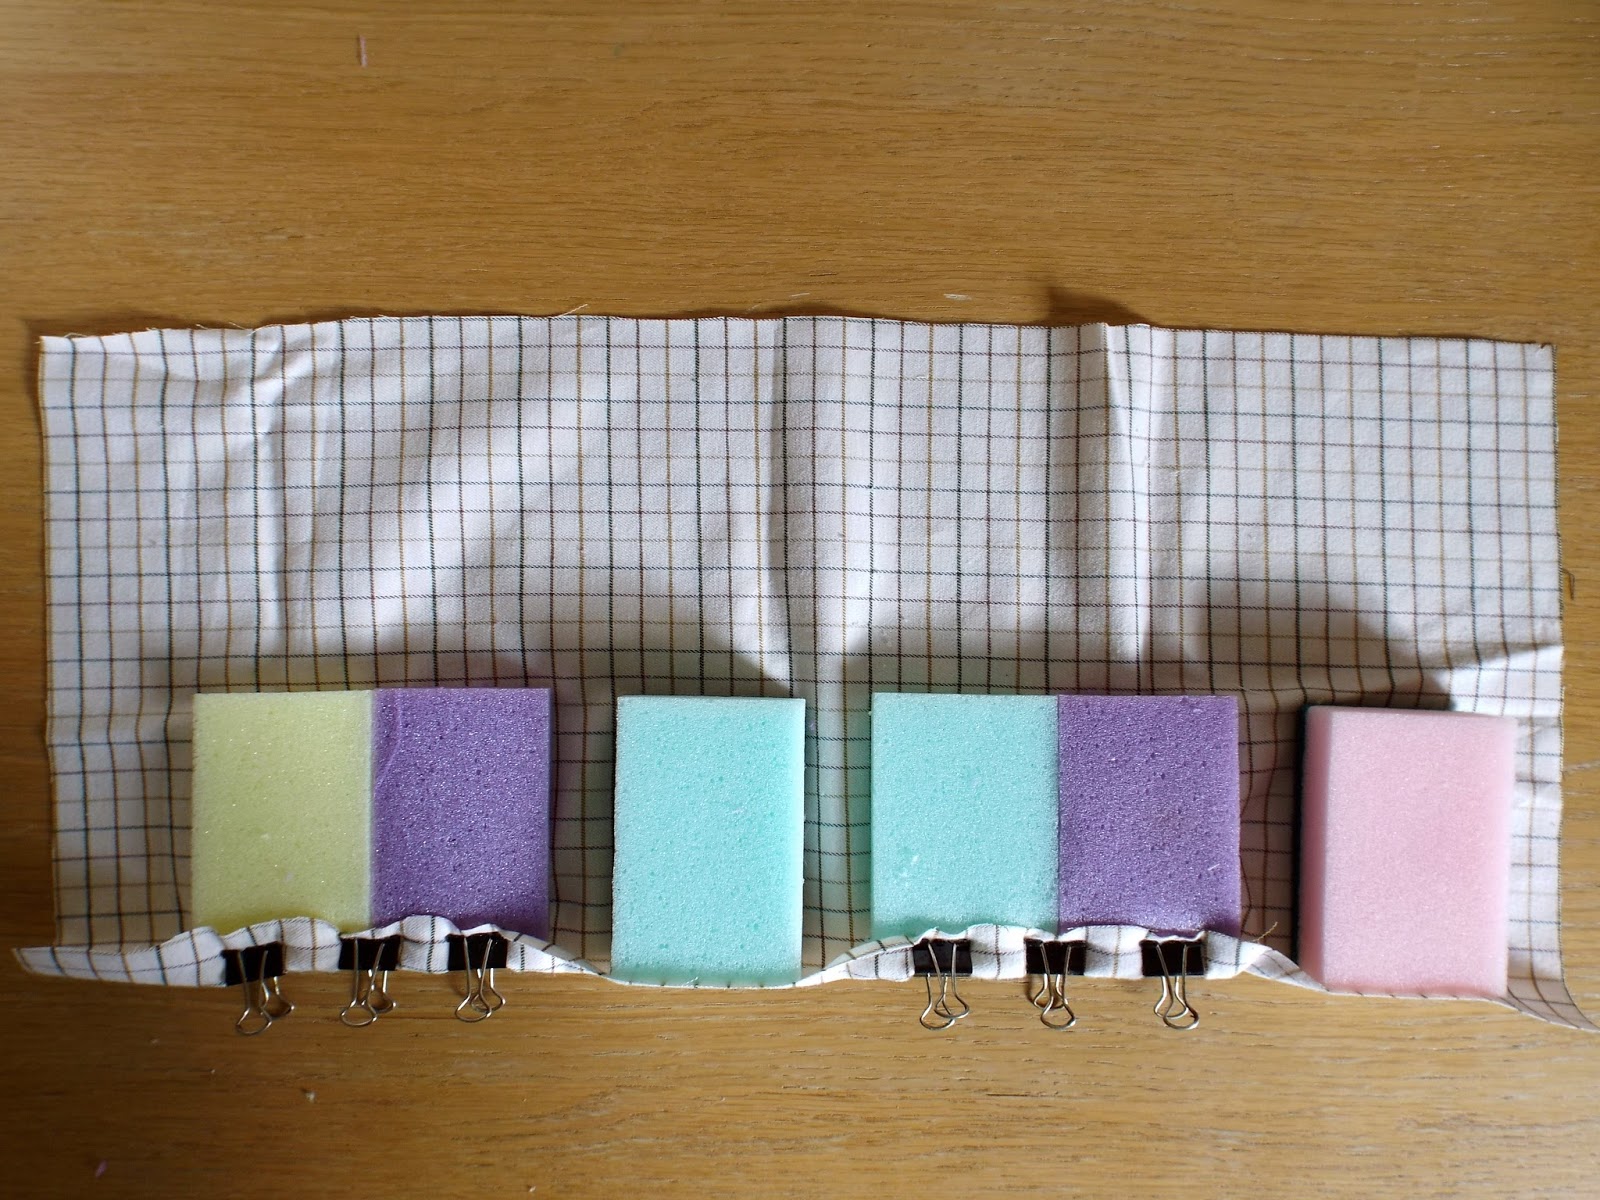
Pop some glue on the ends of the pads, and lift the fabric up. I have used mini bulldog clips to hold the fabric in place here as I had ran out of super glue by this point and had to use the slower bonding textile glue instead.

Wrap the pads up, and glue along the long seam. The stripes in the fabric really helped to keep everything in line at this point. At the end, glue the long tab onto the last pad, remember to leave a bit of a gap for the corner.

It should look a bit like this.

Here are the 2 pads together.


Once they have dried fully, pop them into your bag, and try your camera out for size!


I would love to see your camera bag creations if you decide to give this a go!
No comments:
Post a Comment